Ubuntu安装notary
客户端
源码安装:
- 安装 go 和 git:
sudo apt-get update sudo apt-get install golang-go git - 克隆 Notary 仓库并编译:
git clone https://github.com/theupdateframework/notary.git cd notary make binaries 此时会在 bin/ 目录下生成相关可执行文件,接下来将生成的 notary 主程序移动到系统的 PATH(如 /usr/local/bin),以方便全局调用:
sudo mv bin/notary /usr/local/bin/ sudo chmod +x /usr/local/bin/notary 服务端
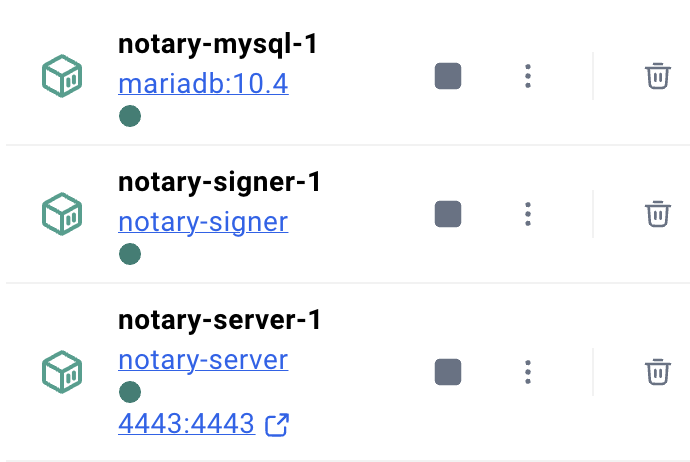
启动服务端,进入 Notary 仓库目录,执行 docker-compose up 启动容器,主要包含了三个容器:
- Server
- Signer
- Mysql
配置notary 采用本地的 server
生成自签证书
创建 openssl-san.cnf 文件
如果需要其他 IP 可访问,则在 IP. 1 后新添一行 IP. 2。
[ req ] default_bits = 2048 distinguished_name = req_distinguished_name x509_extensions = v3_req prompt = no [ req_distinguished_name ] CN = notary.local [ v3_req ] subjectAltName = @alt_names [ alt_names ] DNS.1 = notary-server DNS.2 = notary-signer DNS.3 = localhost DNS.4 = notaryserver DNS.5 = notarysigner IP.1 = 127.0.0.1 IP.2 = 10.211.55.2 使用 openssl-san.cnf 文件创建证书
openssl req -new -x509 \ -keyout notary-server.key \ -out notary-server.crt \ -days 3650 \ -nodes \ -config openssl-san.cnf 执行后,会生成 notary-server.crt 和 notary-server.key 文件。
配置客户端
- 把
notary-server.crt复制到~/.notary目录下,改名为root-ca.crt - 在
~/.notary目录下创建文件config.json(已经有了则覆盖),填写如下配置
{ "remote_server": { "url": "https://localhost:4443", "root_ca": "root-ca.crt" } } 配置服务端
- 进入 Notary 仓库目录下的
fixtures目录 - 我们需要修改
notary-server.crt,notary-server.key,notary-signer.crt,notary=signer.key和root-ca.crt,所以首先执行下面的命令备份原来的文件
mkdir bck mv notary-server.* notary-signer.* root-ca.crt ./bck - 把之前用 openssl 生成的自签证书
notary-server.crt,notary-server.key移动到fixtures目录 notary-signer.crt,notary-signer.key和root-ca.crt和 server 的证书都一致,所以直接复制即可
cp ./notary-server.crt ./root-ca.crt cp ./notary-server.crt ./notary-signer.crt cp ./notary-server.key ./notary-signer.key - 执行
docker-compose up --build -d,重新生成镜像,把生成的证书打包到镜像中
连接到 Mysql 容器
Docker-compose 部署时,元文件和密钥默认存放在 mysql 容器中,如果需要用 navicat 等工具连接,需要设置一下端口映射。
打开 Notary 仓库目录下的 docker-compose.yml,添加端口映射
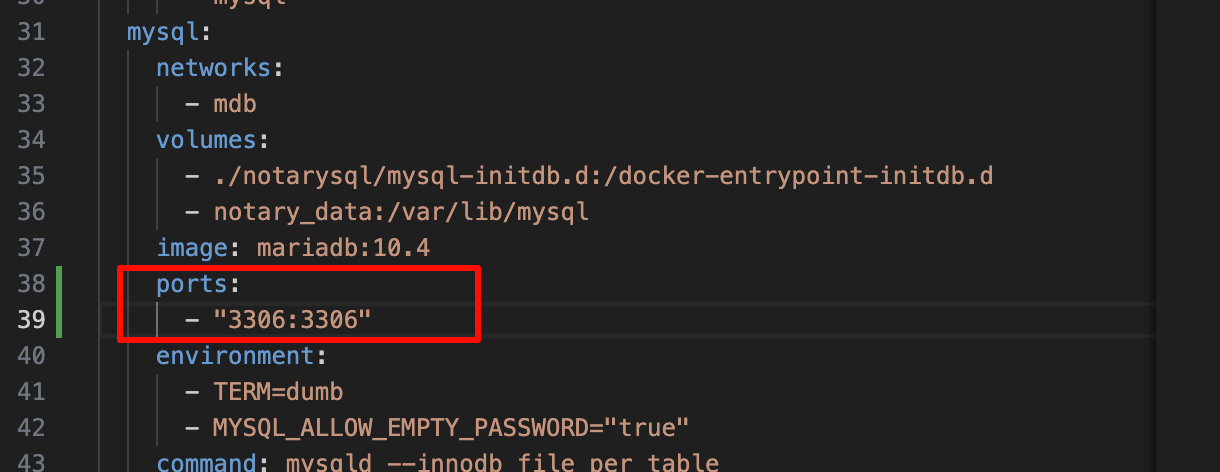
之后用 navicat 连接即可,账号: root;密码为空。
补充说明
- 如果证书报错,通过下面两个命令检查证书信息,重点查看
X509v3 extensions字段是否有IP Address:127.0.0.1

# 打印证书文件信息 openssl x509 -in <crt文件路径> -noout -text # 打印服务端证书文件信息 openssl s_client -connect localhost:4443 -showcerts | openssl x509 -noout -text - 记得需要重启生成镜像,不然新证书无法生效。
- 默认配置文件位置:
- DockerCompose:
docker-compose.yml - Server:
fixtures/server-config.json - Signer:
fixtures/signer-config.json
- DockerCompose:
登录
注册